
Heat guns can be undoubtedly regarded as one of the most incredible items when it comes to resin arts. The overall final look, details, fine intricacies, and artistic exuberance depends greatly on the way the heat gun is used.
This must-have tool plays a significant role when it comes to the neatness, precision, and perfection of the final product.
Before you start! Put on heat-resistant gloves, safety glasses or goggles, and a respirator mask to protect yourself from the heat, flying debris, and fumes
Properly Using Heat Gun on Resin Surfaces
Here we have tried to enlist some of the most significant factors that determine the final results. These are a few tested and trusted ways (by DIYs and professionals) to get the desired results while using heat guns on resins.
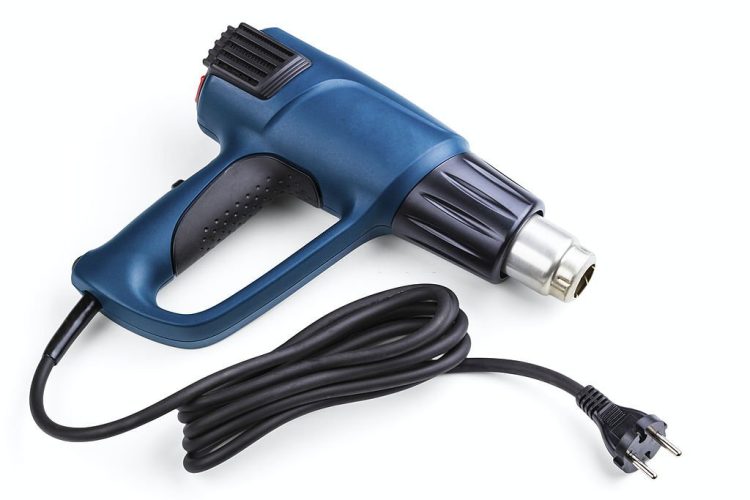
1 – Shape of the nozzle:
It’s definitely not as simple as it sounds. The shape of the nozzle determines a lot more than one can imagine. It affects the amount of heat that eventually comes out of the heat gun and greatly affects the way this heat is received and absorbed by the resin.

- Large round tip nozzles force the heat to expand when it comes out. It produces more refined cells and detailed patterns when used at low and high speeds even. The overall structure seems much more pronounced and every single detail pops up with intricacy and perfection.
- Small round tip nozzles force the heat to come out violently. It makes almost similar effects on low as well as high speeds. The way these nozzles push the resin leaves little room for cells to emerge and be observable.
- Duck bill shaped with thin open ends creates beautiful patterns too. They are reported to produce less intricate and layered designs, waves, and cells as compared to round-tip nozzles.
- Duck bill shaped with a wide open end is reported to produce almost similar effects. The only observable difference is that they produce really small patterns (the lacing they make is similar but smaller in size to the one produced by small round tip nozzles).
- Duck bill resin puller/raker allows you to spread the resin in your direction. It also produces small patterns with intricate details. However, it blocks the view of the artist and one may touch the actual resin with the tip of a raker.
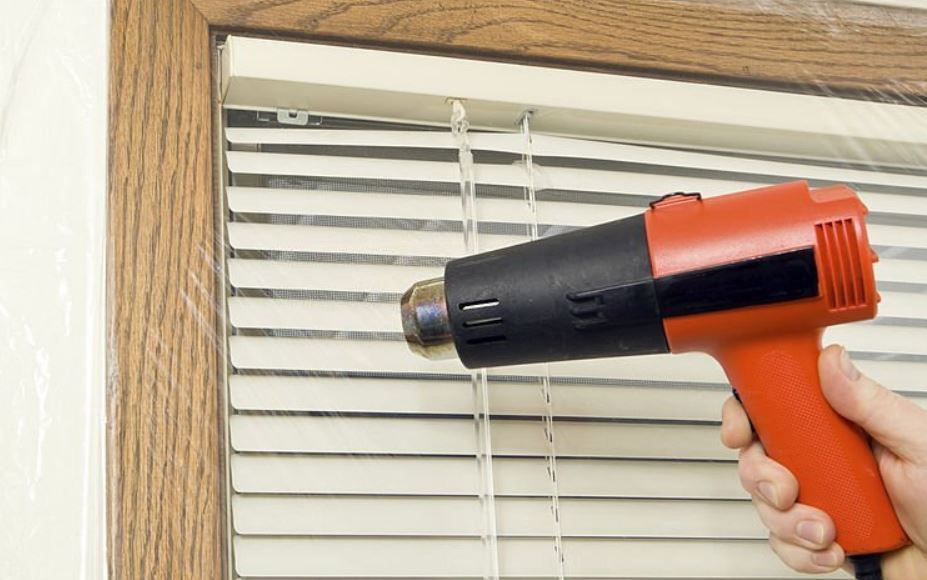
2 – Angle of application:
Like many other things, angles also play a crucial role in this regard. The position of the heat gun, the angle at which the heat comes out a heat gun and the way it approaches resin; all these factors contribute to the fineness of the project.
- Holding a gun straight down at the resin allows it to expand on its own and the whole structure blooms like a flower on one side. It may leave a big vacuum space on the other end.
- However, if a gun is held sideways, it allows even finer patterns to emerge on both sides of the resin.
So, vary the angle at which you hold the heat gun to observe the resin’s reaction. Different angles can create unique effects and textures, providing artistic versatility.
3- Maintain distance:
Keep the heat gun at a moderate distance from the resin surface to avoid scorching or burning. Start with a distance of 6-8 inches and adjust as needed.
Also, avoid focusing the heat on one spot for too long as it can cause localized overheating. Instead, move the heat gun in a sweeping motion across the resin surface to distribute the heat evenly.
4– Speed:
Keeping heat guns on middle speed works best for you. High and low speeds have their own pros and cons but finding your way along those lines shall always produce the best results.
High heat is recommended for projects where you have allowed resins to rest for a while. They can always help to push the resins in the desired direction.
FINAL WORDS:
These are the few things that must be considered while using a heat gun for resin projects. Resin art demands patience, excellence, and commitment.
It requires an artist to understand the needs of the projects, the nature of the resin used, and the tools in hand to carry out a whole process. What could be achieved at high speeds can’t be imagined at a lower one.
Similarly, a pattern produced by one shaped nozzle has its own characteristic. It cannot be achieved by using any other shaped nozzle.
To conclude, using a heat gun can be a simple task for many out there. But those who understand the intricacy and beauty of details know that it can make or break the whole thing for them. We wish you a great artistic experience with your resins and heat guns. Choose wisely!

Meet Max, the founder and lead writer of our home improvement blog. He is a seasoned home renovation and design expert with over 8 years of experience in the industry.
Max has a passion for creating beautiful and functional living spaces and is dedicated to helping homeowners and DIY enthusiasts achieve their home improvement goals. He has worked on a wide range of projects, from small updates to full-scale renovations, and has a wealth of knowledge and experience to share.
As an avid DIYer, Max understands the challenges and rewards of tackling a home improvement project and enjoys sharing his tips, tricks and insights to make the process as easy and enjoyable as possible. In his free time, Max can be found working on his own home renovation projects, reading design blogs and magazines, and travelling to explore new design trends.
Max is excited to share his knowledge and experience with you and hopes to inspire and empower you to take on your next home improvement project with confidence. Follow Max on LinkedIn for more inspiration and expert advice.
