
Cutting laminate flooring with perfection is still a dream for many professionals and DIY enthusiasts. However, it must be noted that the right outcome greatly depends on the most suitable selection of the tool for the task at hand.
It is true that laminate flooring is one of the most affordable, adaptable, and easy-to-work-with options for many out there but still, it needs a certain degree of research to get the finest results.
Before we plunge into our quick guide on how to cut laminate using a circular saw, it is important to mention that each type of saw is industrially designed to serve a specific purpose.
What differentiates one from another is the effectiveness against one type of material and total crap experience against the other.
The point that our experimenters, reviewers, and craftsman tried to make after several attempts is that there is no such thing as a bad saw. It’s just that you are simply using the wrong tool for that particular project.
Repeated tasks, DIY projects, experiments, and tests at our workstations compelled our tool masters to give the final verdict in favor of circular saw when it comes to cutting laminate flooring.
Parts of A Circular Saw
Handles
It has two handles to help you establish better control of the tool and eventually improve the final result. The rear handle has a trigger that can be managed depending on the needs.
Some saws also come with a safety button. This feature specifically adds to the overall security and safety while handling the tool.
Left/Right-Handed Blade
The side of the blade can also play a crucial role in determining the final cuts. The majority of the saws have a blade to the right of the motor that makes a nice comfortable grip.
However, left-handed saws can also be found in the market. You should choose the one that best compliments your grip and works best for you.
Shoe/Base Plate
The base plate of the saw is also one of the important parts as it keeps the saw stable against the surface and provides ample support to the tool maintaining a constant angle against the wood.
When it comes to bases, aluminum, and steel are the two top choices. Aluminum bases are less expensive and lightweight. However, if you are a regular worker with loads of projects, a steel base can be a sturdy and more reliable option for you.
Blade Guard
It is also a significant part of the circular saws and almost all of them have it. It automatically traces back when you begin your cutting.
Size
The circular saws come in a number of sizes that are suitable for a variety of purposes. The most common size among all is a seven and quarter inch saw. This site is highly recommended for all kinds of laminate flooring projects, DIY tasks, etc.
Blades
The majority of high-quality saws usually come with an all-purpose blade having 24 teeth. They are highly recommended for flooring projects as they are sharp, sturdy, and easy to handle.
If you want to avoid all sorts of splintering and ad other issues while dealing with laminate, a finer blade having up to 140 teeth can get you better results.
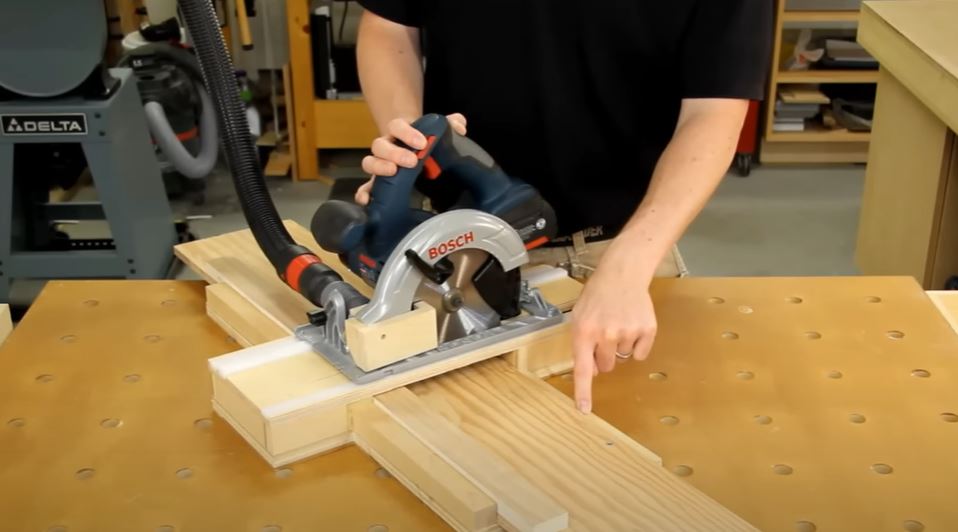
How to Cut Laminate Flooring Using a Circular Saw
Installing laminate flooring can be completed in a few days, but the last row often poses a challenge as it requires precise cutting to fit the available space. This guide will help you accomplish this task efficiently using a circular saw.
Step 1:
Measure the space between the last row of installed laminate flooring and the wall. Remember to subtract a quarter of an inch from the measurement to account for the necessary expansion gap.
Step 2:
Transfer the measurements onto the front of the laminate flooring planks using a pencil. Place these marked planks on two sawhorses for easy cutting.
Step 3:
Using the circular saw, carefully rip the laminate flooring to the required size. Ensure the planks are face up during cutting to avoid any chipping of the laminate surface caused by the saw blade.
Step 4:
Test-fit the cut planks to check if they fit the space appropriately. If adjustments are needed, use the circular saw or an electric hand sander with fine-grit sandpaper for minor trimming. Gently sand the plank’s edge until it fits perfectly in place.
Step 5:
Once the planks are accurately sized, proceed to install them on the floor. Snap the planks together with a pull bar to secure them firmly in place.
The video below shows you how to cut laminate flooring step by step:
Tips to Cut Laminate Flooring Easily
Grip
It is important to know that a circular saw is a dangerous tool and requires a firm and stable grip. It is always advised to establish a firm grip with both hands so you may be ready for any possible kickback. Otherwise, you may hurt yourself and damage the wood as well.
Do not try to twist your blade if you feel slightly off the line. It can provide a saw with a very good chance to jerk back. Rather, back the saw up and see where you have derailed the line, then continue on that line.
Underneath Support
It is as important as a solid grip on the tool. Make sure to have a solid base to avoid any jerks. Our professional woodworkers recommended using sacrificial boards in order to prevent any major upset.
When you are about to make a cut, try to leave some space and start your blade a little back from the wood. Otherwise, either it can bog down the motor or easily kick back.
Blade Position
Make sure your blade rests at the right angle and just a quarter to an eight-inch below your workpiece. It ensures smooth cuts without damaging anything else under the workpiece.
Rough vs Finished Cuts
The 24 teeth blade is reported to cut fast but it will produce rough cuts for you. Such blades can be considered good options for framing etc. However, if you want nice finished cuts as in the case of laminate floorings etc, blades with 60 or more teeth can provide sharp and fine cuts.
Angled Cuts
It is generally noticed that while making an angled cut, the guard consistently keeps pushing in, thereby disturbing the angle. It is recommended that you lift up your guard a little bit, begin your cut, and after an inch or two finally drop it once you catch your angle. It will give a nice initial cut.
Plunge Cuts
When you try to make a cut in the center of something without cutting any sides, it is known as a plunge cut. It is important to know that it can be a dangerous task for you.
First of all, make sure that the blade is slightly deeper than the workpiece, and pivot everything at the front of your blade, once you are done with your alignments, pull the guard back, pull the trigger, and have the blade start to spin, slowly land back into your workpiece.
Graduated in English Literature, Shabahat has a deep knowledge and experience in home improvement topics.
